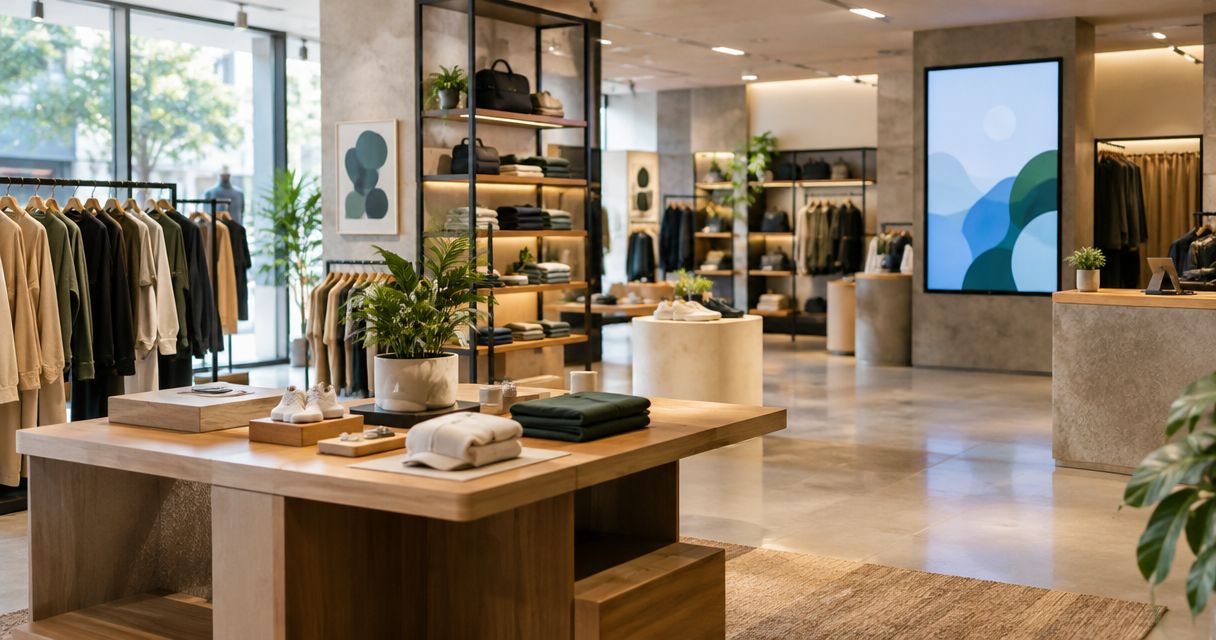
Retail-store commercial interior design is the planning of selling space, fixtures, lighting and staff areas to help customers find products and complete purchases. This guide to commercial interior design for retail stores explains how to turn that purpose into a practical brief, compare delivery options and assess a layout before committing to a fit-out.
TL;DR
- Giant Leap’s commercial interior design guide suits retail owners preparing a fit-out brief before appointing specialists.
- Commercial interior design for retail stores starts with customer flow and merchandising, not finishes.
- Compare layout options against stock handling, accessibility, lighting and checkout requirements.
- Approve coordinated drawings and a written scope before authorising installation.
Why commercial interior design matters for retail stores
A retail interior must support shopping and daily operations in the same space. Customers need clear routes and readable displays; staff need replenishment access, storage and a workable checkout. A layout that addresses only the customer-facing area leaves important decisions unresolved.
Unlike a purely decorative update, retail design connects merchandise, circulation, lighting and construction. Moving a counter changes more than its appearance: it affects power, payment equipment, queues and staff visibility. Resolve those relationships before selecting surfaces.
Giant Leap’s retail commercial interior design guide is best for store owners preparing a fit-out brief before appointing specialists. Use it to define what a designer or shopfitter must demonstrate, rather than treating attractive visuals as sufficient evidence.
For a 2026 store project, make the brief specific to your premises and operating model. Record landlord requirements, existing services and trading constraints before agreeing to a design direction.
How to plan a retail interior
Start with a measured plan, a stock list and observations from your existing store, if you have one. You can prepare the initial brief yourself; appoint specialists when decisions require technical drawings, coordinated services or construction oversight.
Define your customer journey and project brief
Write down what customers need to accomplish, from recognising the entrance to collecting their purchase. Describe the shopping tasks, not an imagined customer personality. A shopper comparing products needs a different display arrangement from someone collecting a preselected order.
Prepare 1 written brief as the reference for your 2026 project. Include the merchandise categories, service interactions and operational problems the design must address. Separate essential requirements from preferences so that a finish substitution does not distract from a missing stockroom or inaccessible route.
Use a simple document first. Where the scope includes structural work, building services or regulated requirements, ask appropriately qualified specialists to translate the brief into technical requirements. Do not use a mood board as a substitute for a scope.
Close the brief with clear acceptance criteria: what must be shown on the plan, what needs a sample and who approves each decision.
- List the product categories and display methods you need.
- Describe browsing, assistance, payment and collection tasks.
- Record storage, deliveries, waste and staff requirements.
- Identify landlord approvals and site restrictions to confirm.
- Name the decision-maker and document approval responsibilities.
Map customer routes and stock movement
Draw the existing premises to scale before rearranging fixtures. Mark entrances, columns, doors, service points and fixed equipment. Verify measurements on site; an attractive layout built on an inaccurate base plan creates avoidable conflicts.
Compare 2 layout options against the same merchandise and operational requirements. Trace a customer route and a replenishment route on each. Check where queues, open doors or staff carrying stock compete for space, rather than judging the plan only when the store is empty.
Begin with paper sketches or a basic drawing tool. A designer becomes useful when alternative layouts need coordinated dimensions, fixture details and service positions. The benefit is resolving linked decisions together; the limitation is that the design still depends on accurate site information.
Do not assume a particular circulation pattern suits every store. Select the arrangement that makes your merchandise understandable and supports the way your team serves customers.
- Mark customer routes separately from stock movement.
- Show queues without blocking entrances or circulation.
- Check access to fitting, consultation or collection areas where needed.
- Keep service doors and essential equipment accessible.
- Test alternative fixture positions before fixing power locations.
Match fixtures and lighting to merchandise
Group the store into 3 planning zones: arrival, browsing and transaction. These are working labels, not a requirement to divide the floor into equal areas. Use them to check whether the entrance explains the offer, displays support comparison and the payment area supports service.
List what each fixture must hold before choosing its form. Hanging stock, folded goods and small accessories require different presentation and replenishment arrangements. Ask to see how a proposed fixture works with representative products, including packaging and labels.
For a 2026 lighting brief, separate general illumination from merchandise emphasis and staff tasks. Assess samples in the intended setting instead of approving materials or light sources in isolation. A designer can coordinate the lighting intent with ceilings and displays; an electrical specialist must address the installation requirements.
Choose fixtures for the merchandise they must carry, then assess their appearance. Decorative choices should not make routine handling awkward.
- Record product dimensions and display orientation.
- Check shelf reach, product visibility and replenishment access.
- Identify glare on reflective packaging and screens.
- Review material and lighting samples together.
- Show power and data needs beside relevant fixtures.
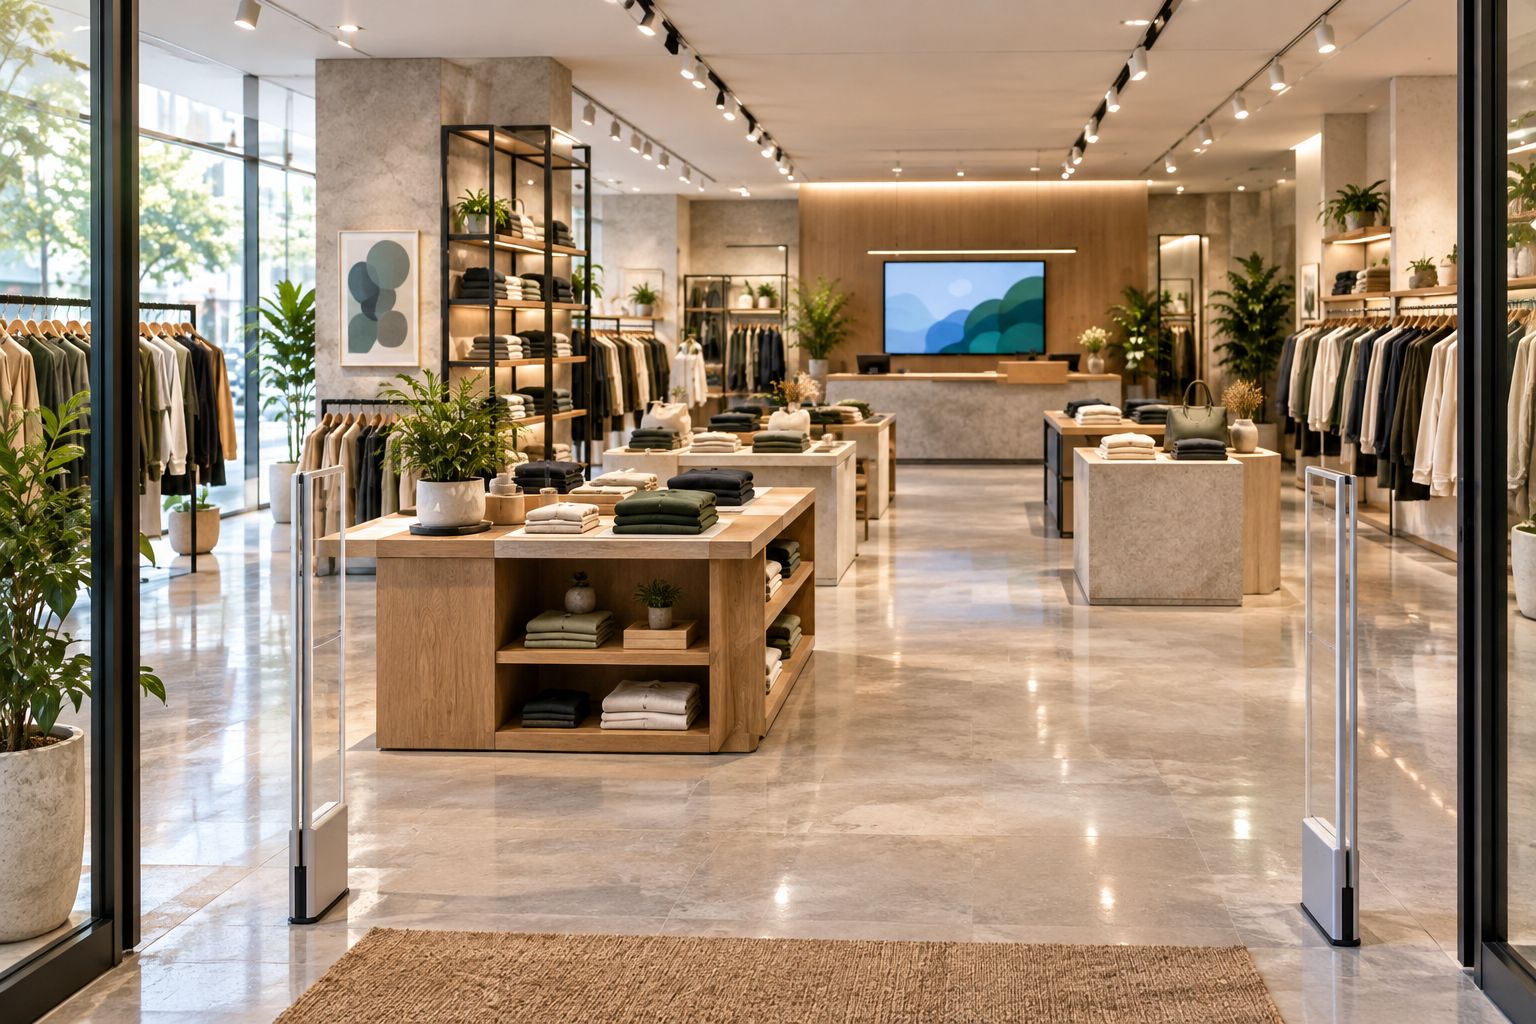
Assess arrival, browsing and transaction areas together rather than as isolated design features.
Check accessibility, services and site requirements
Review the proposed layout against the actual premises before approving detailed finishes. Doors, floor changes, escape routes and existing services are design constraints, not items to resolve after the fixtures arrive. The requirements depend on the building and proposed work.
Start by collecting the lease requirements, available building drawings and landlord fit-out rules. Then ask the relevant professionals to identify the approvals and technical checks your project needs. A general planning guide does not replace project-specific advice on South African building, accessibility, fire or electrical requirements.
Walk through the customer journey with accessibility in mind. Consider reaching products, approaching the payment point and using any changing or consultation facilities. Do not reduce the exercise to checking the entrance alone.
Record unresolved matters in a decision register. Assign an owner to each question and obtain confirmation before related construction begins; an unanswered services question is not an approved design assumption.
- Verify existing services against the proposed fixture positions.
- Review doors, floor transitions and circulation routes.
- Confirm landlord submission and approval requirements.
- Assign technical compliance checks to qualified professionals.
- Record each approval and its supporting document.
Coordinate drawings and the fit-out scope
Turn the selected layout into a written scope supported by coordinated drawings. Identify what is retained, removed, altered and newly installed. Without those distinctions, quotations can describe different projects even when they use the same store plan.
For a 2026 fit-out, ask each delivery team to price against the same approved information. Compare inclusions, exclusions, installation responsibilities and handover requirements rather than treating the final total as the complete comparison. Check who supplies fixtures, connects services and repairs adjoining surfaces.
A spreadsheet is sufficient for tracking scope questions. Where several trades interact, appoint a responsible coordinator and define their authority. Design-and-build can consolidate responsibility, but it still needs a clear specification and an agreed process for changes.
Plan the work around trading requirements and site access. If the store remains open, document how customers, staff, merchandise and construction activity will be separated. Do not leave those arrangements to an informal conversation on installation day.
- Issue the same drawings and scope to each quoting team.
- List exclusions and client-supplied items explicitly.
- Assign responsibility at trade and supplier interfaces.
- Agree how variations require written approval.
- Define inspection, snagging and handover requirements.
Test the layout before signing off
Use floor tape, temporary furniture or a simple mock-up to test the plan at full scale where practical. Walk the entrance, browse displays, approach the counter and rehearse replenishment. A perspective image cannot show whether those movements work comfortably together.
Check routine tasks as well as the customer route. Ask staff to describe opening, deliveries, cleaning, stock changes and closing. Record conflicts and revise the relevant drawing before approving fabrication.
A specialist can help test fixture details and coordinate revisions, but the retailer must confirm how the store operates. Treat sign-off as approval of a defined drawing revision, not a general expression of enthusiasm for the concept.
After opening, review the same tasks against the approved brief. Keep a record of layout changes so the next merchandising update does not recreate a problem already solved.
- Mark fixture footprints and queue positions on the floor.
- Rehearse stock movement during customer activity.
- Check access to storage and service equipment.
- Record defects separately from requested design changes.
- Sign off named drawing revisions and material selections.
Compare retail design delivery options
Choose the delivery model by the coordination your project needs. A limited display refresh and a fit-out involving services do not require identical teams. These options describe responsibilities to discuss with prospective providers, not verified packages from Giant Leap.
Retailer-led refresh
- Best for: Moving loose displays within an otherwise unchanged store
- Main advantage: Direct control over merchandising decisions
- Key limitation: Technical and coordination questions still need qualified input
Independent interior designer
- Best for: Comparing concepts and developing a detailed design brief
- Main advantage: Separates design development from contractor selection
- Key limitation: Construction responsibilities need separate appointments
Shopfitter-led delivery
- Best for: Projects centred on fixture fabrication and installation
- Main advantage: Connects fixture detailing with production
- Key limitation: Confirm who owns layout, lighting and services design
Design-and-build team
- Best for: Fit-outs needing coordinated design and construction
- Main advantage: Places defined responsibilities within one appointment
- Key limitation: Inclusions and change controls need explicit documentation
Ask every prospective provider for the same deliverables and approval stages. Do not assume that concept drawings include technical documentation, or that installation includes every service connection.
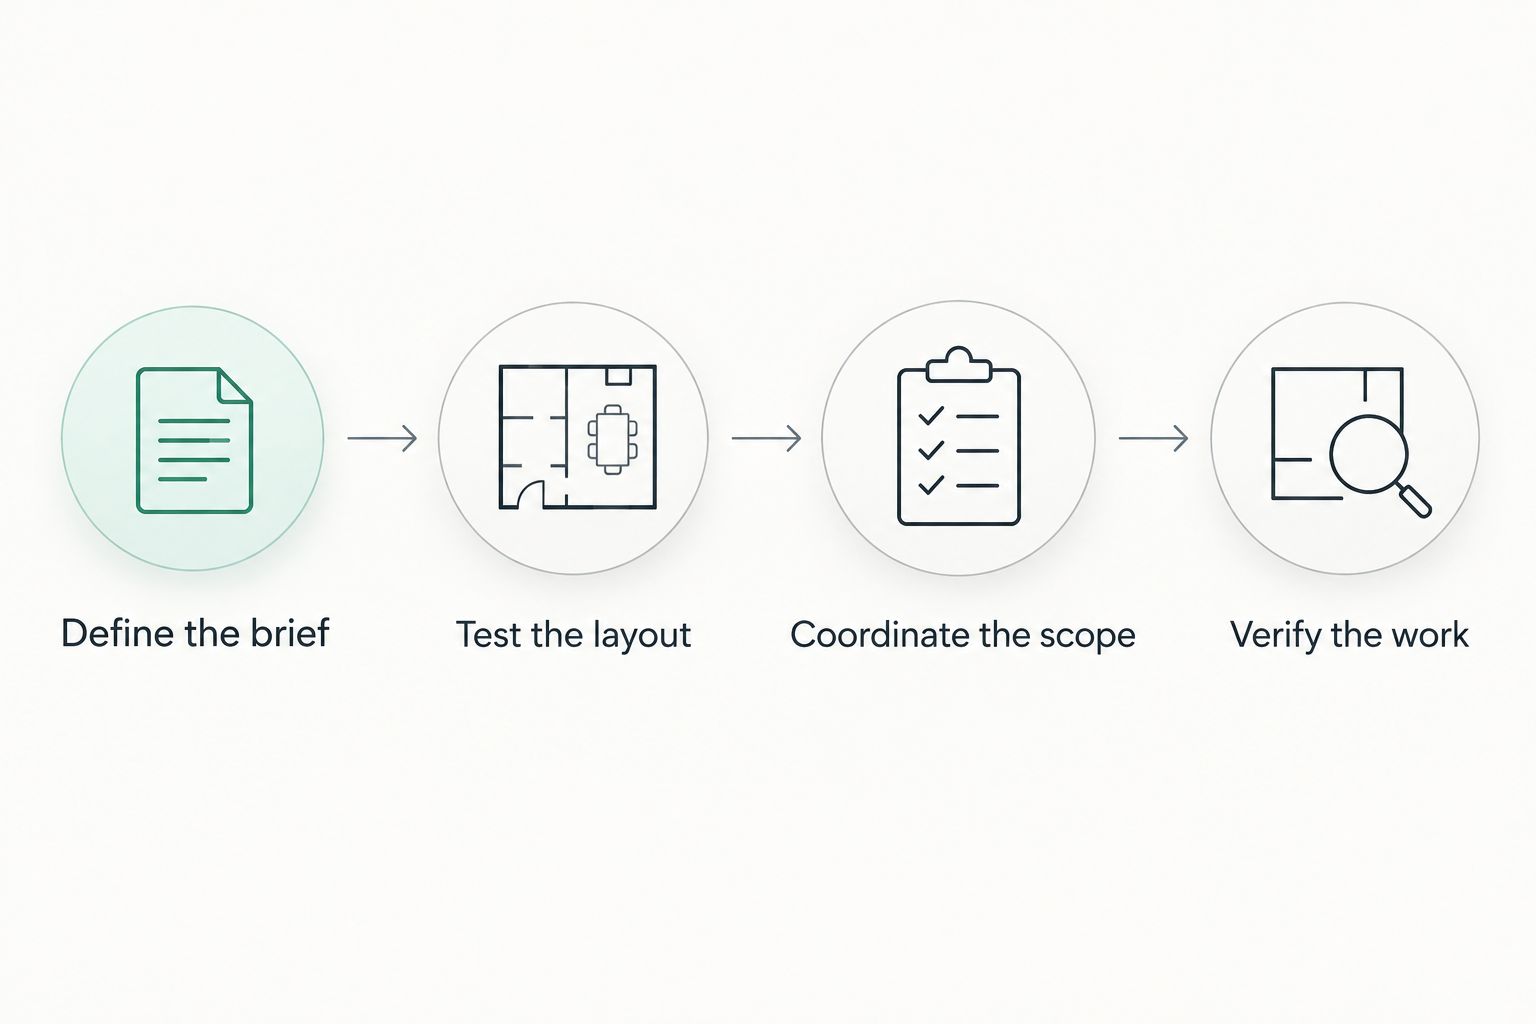
The selection sequence is straightforward: define the brief, test the layout, coordinate the scope and verify the finished work. Keep those checkpoints even when one team handles several stages.
Common mistakes retail owners make
Approving a render without checking the merchandise
A visual concept does not establish how much stock a fixture holds or how staff replenish it. Test representative products and packaging before approving fixture details, especially where display proportions drive the design.
Designing the sales floor but ignoring deliveries
A store plan is incomplete without a route from delivery to storage and display. Show where incoming goods wait, how staff move them and whether that movement conflicts with customers.
Treating checkout as a piece of furniture
A checkout combines service, equipment, queuing and staff movement. Confirm the devices and tasks it must support before approving counter dimensions or fixing electrical positions.
Comparing quotations with different scopes
A lower total does not establish that two proposals cover the same work. Reconcile exclusions, technical drawings, service connections and handover obligations before selecting a contractor.
Choosing finishes without a maintenance plan
A sample communicates appearance, not your cleaning routine. Request care instructions and assess how the proposed surface will be cleaned, repaired or replaced in its actual location.
FAQ
What is commercial interior design for retail stores?
Commercial interior design for retail stores plans layouts, fixtures, lighting and support areas around shopping and store operations. It connects the customer journey with practical requirements such as stock handling, checkout and maintenance.
Where should I start when redesigning a retail store?
Start with a measured plan and a written brief describing merchandise, customer tasks and staff operations. Compare layout options before committing to fixtures, finishes or service positions.
Should I hire an interior designer or a shopfitter?
Choose according to the responsibilities your project needs, not the job title alone. Ask who develops the layout, prepares technical details, coordinates services, fabricates fixtures and manages installation.
What is the best layout for a small retail store?
The best layout is the one that presents your merchandise clearly while preserving workable customer and stock routes. Test fixture footprints, checkout queues and replenishment before approving the plan.
Can I redesign my store without closing it?
Keeping a store open requires a project-specific assessment of safety, access and the work involved. Agree customer separation, stock protection, service interruptions and site arrangements with the responsible team before work starts.
How do I check whether retail lighting suits my products?
Review representative merchandise and material samples under the proposed lighting conditions. Check product visibility, glare, staff tasks and the relationship between display lighting and general illumination.
Who is Giant Leap’s retail design guide best for?
Giant Leap’s retail design guide is best for store owners preparing a clear brief before appointing design and fit-out specialists. Use its checkpoints to compare scope, test layouts and document approvals.
One last thing
Rehearse replenishment before approving your store layout. Customers experience the finished display, but staff must repeatedly restore it. Walk a representative delivery from the receiving point to storage and then to the shelf; record every door, queue or fixture that interrupts the route.
Use Giant Leap’s guide as the working agenda for your 2026 briefing meeting. Bring the measured plan, merchandise requirements and unresolved site questions. Leave with named responsibilities and documented next steps, not just an agreed visual direction.
Related guides
These guides address staff work areas rather than retail merchandising. Use them when your store project also includes an office or administrative workstation.